
DIRECTIONS
Step 1 :
Stack three sheets of tissue paper flat on a surface. Fold-in the bottom edge one inch.

Step 2 :
Flip it over and fold it back on the other side. Continue folding your way up the paper one inch at a time creating an accordion-like look.

Step 3 :
Fold that accordion styled paper into three.

Step 4 :
Wrap a pipe cleaner around each section and secure. Position the pipe cleaners in different directions so all your flowers will not be identical. The colors will alternate depending on the direction of the fold in the tissue paper.

Step 5 :
Twist the pipe cleaner around the tissue paper to secure the flower to the stem.

Step 6 :
Cut the tissue paper along the section folds.

Step 7 :
Round the edges on each end of your three flowers.

Step 8 :
You’ll probably need to trim the outer edges a bit more than the inner edges to even them out. It is optional to save and collect paper trimmings to add as a decorative confetti in the bottom of a vase.

Step 9 :
The tissue paper flowers at this point will take up more space and be more fragile. When holding your pip cleaner (stem), gently open up the accordion (flower) and begin pulling the top layer straight up all the way around the flower.

Step 10 :
If the flower does not stay open, you can use glue to hold the edges of the flower together. Be careful not to rip the paper.

Step 11 :
Separate the other two layers by pulling the middle layer straight up toward the top layer, while pulling the bottom layer straight down.

Step 12 :
Flip the flower upside down and gently move the stem to the edge applying gentle pressure, pressing the bottom layer down toward the middle layer.

Step 13 :
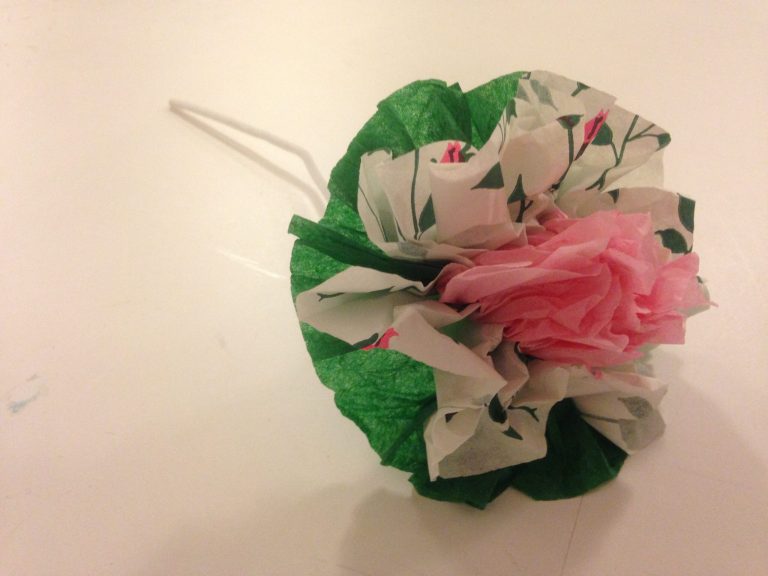
A different idea is to add a fun tissue paper pattern in your flower!

Step 14 :
Enjoy!